Have you ever wanted to solve some specific problems in your web application, but JavaScript just wasn't spicy enough or you thought you could use more processing power?
Perhaps you're a fan of Web Development with Go and wanted to use it for more than just the backend?
Or maybe you've been hearing all the hubbub around WebAssembly (Wasm) and wanted to see what the big fuss was all about?
Well if you even remotely found yourself responding with an "eh, I guess" to any of the above: look no further. On this page you'll find a minimal, barebones, step-by-step guide of what it takes to get a Go program compiled down to a Wasm module, running in your browser and interacting with it using a simple HTML form.
What is WebAssembly?
To quote the Official Website:
WebAssembly (abbreviated Wasm) is a binary instruction format for a stack-based virtual machine. Wasm is designed as a portable compilation target for programming languages, enabling deployment on the web for client and server applications.
In the context of this post, you can think of it as a way for us to run code written in programming languages other than native web JavaScript in the browser.
The Goal for today
Let's keep things simple here.

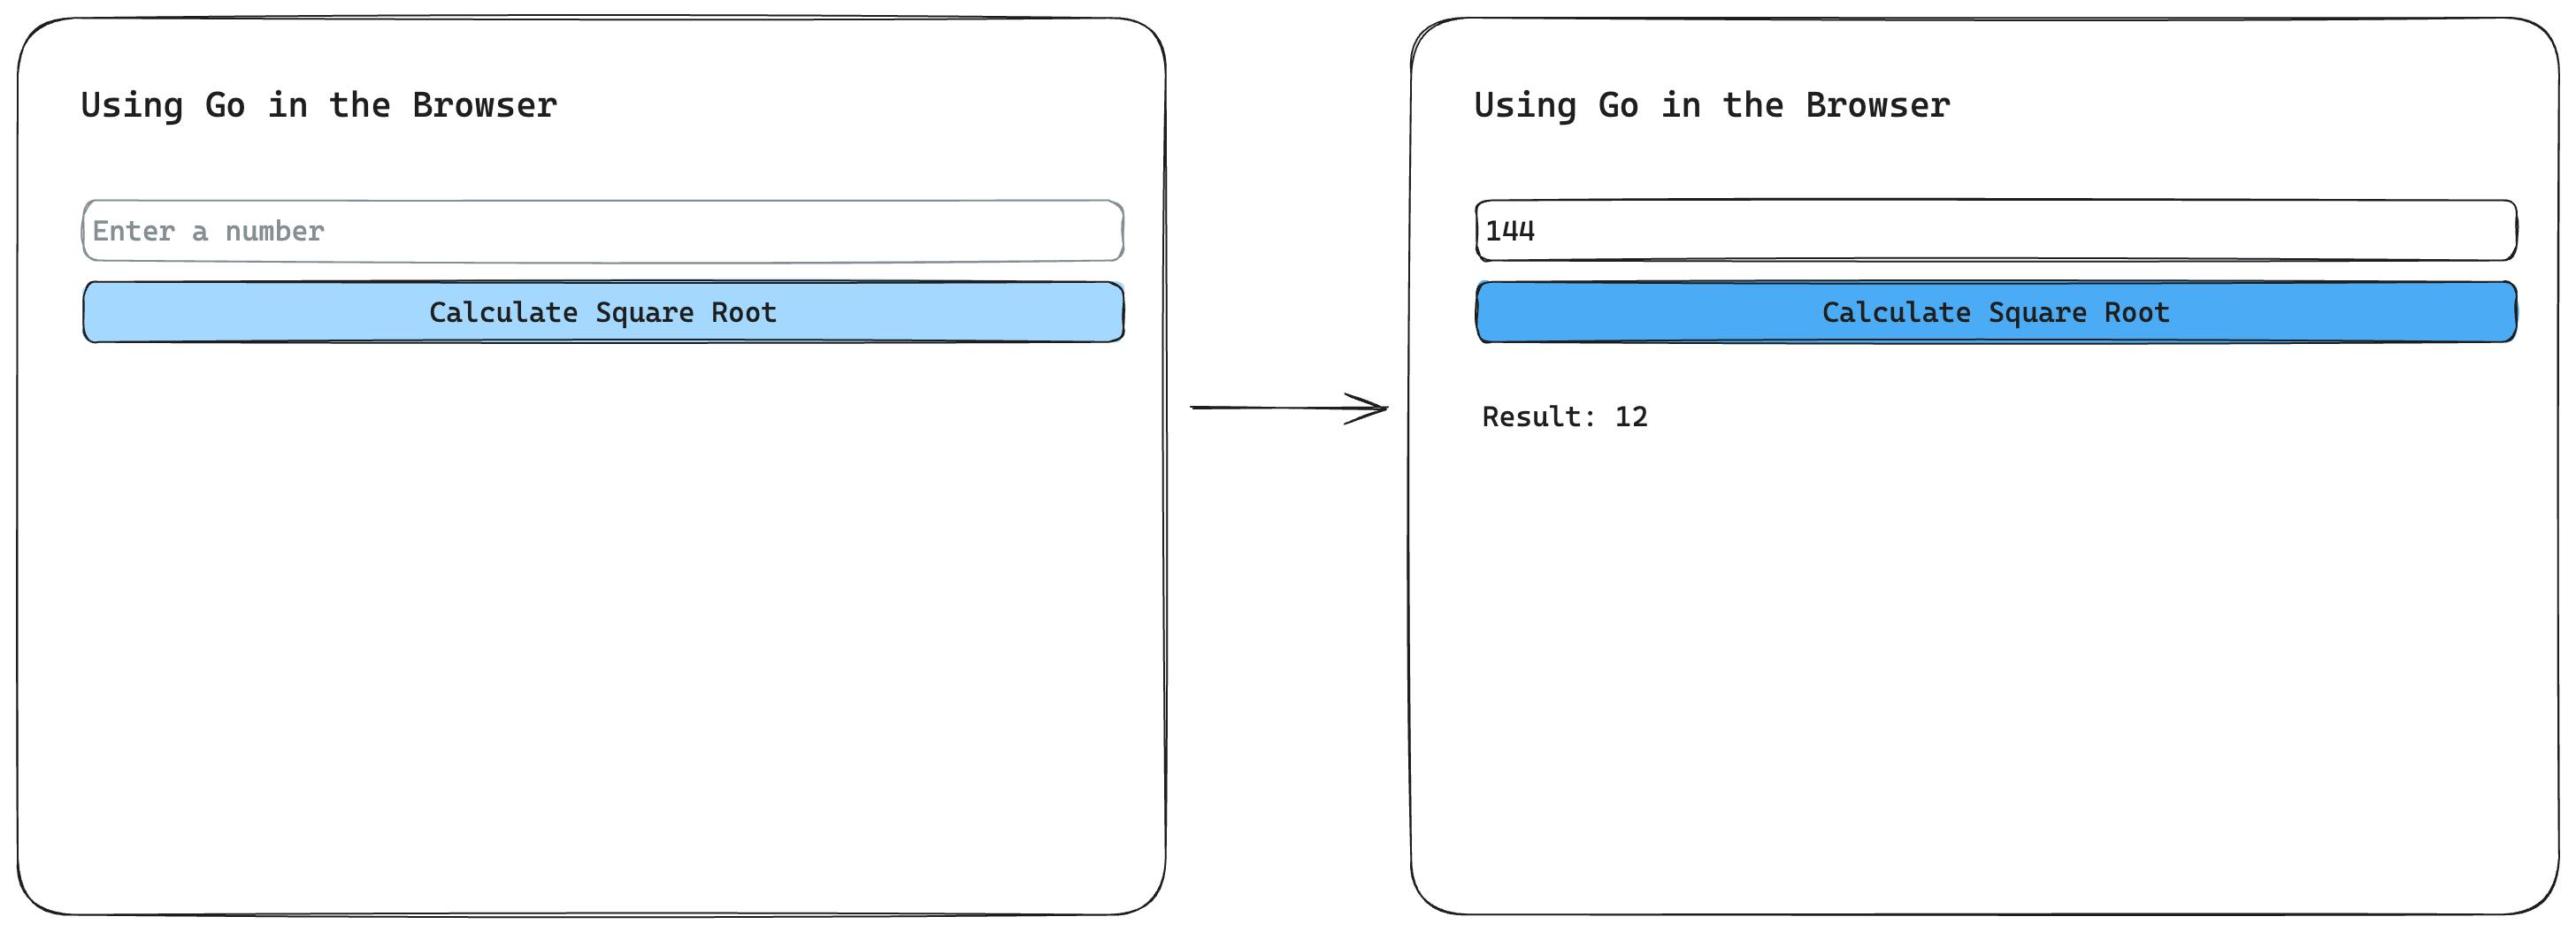
We'll build a basic web page with a single input form. The form will take a number from the user and when submitted will display its square root.
About as simple as can be, and straightforward to achieve in vanilla JavaScript. However we're complicated individuals and we don't want to use JavaScripts math or parsing features here - all input parsing and calculations will happen in a Wasm module written in Go instead.
The Solution
Looking to jump straight into the solution? I respect your moxie. In that case check out the Git repo.
The key files to check are web/index.html to see how the Wasm module is hooked up to our HTML, and the Go Wasm source code itself under cmds/wasm/main.go.
🚨 Spoiler alert: here's a live version of the finished web page.
Otherwise, keep on reading and we'll break down the solution step-by-step.
A simple Wasm Module
The most minimal setup for a Go Wasm module doesn't differ in any way from a generic "Hello, World" program.
package main

import (
    "fmt"
)

func main() {
    fmt.Println("Go Wasm module instantiated!")
}
The secret sauce is all in how we compile the code from here on out.
In a regular Go program, we might do something like go build . , but when targeting Wasm we must specify more arguments and variables.
GOARCH=wasm GOOS=js go build -o app.wasm .
The GOOS variable tells the compiler what operating system we want our target binary to run on, and the GOARCH variables tells it what architecture should be used for the binary. This is also the standard way for cross compiling Go programs, for example to target darwin for macOS and arm64 for Apple silicon architecture.
Running the Wasm in a browser
First things first, we'll need a bit of JavaScript to run and instantiate our Go-based Wasm module in the browser - luckily the standard library provides this with every installation of Go, we must simply copy it over to our working directory.
cp "$(go env GOROOT)/misc/wasm/wasm_exec.js" .
Now we have a wasm_exec.js file which we can load in our browser - great, let's do that now.
<script src="wasm_exec.js"></script>
We can add the above snippet to the head of any HTML document where we want to execute Wasm. Let's create a skeleton document now.
<!DOCTYPE html>
<html>
  <head>
    <title>Using Go in the Browser</title>
    <script src="wasm_exec.js"></script>
  </head>
  <body></body>
</html>
Okay, so we've copied the code that will execute our Wasm module and loaded it in our HTML. Now we have to actually tell the browser to fetch, instantiate and run our app.wasm module. Add the following script tag below the one which loads wasm_exec.js in the head of the document.
<script>
  // Creates an instance of the Go wasm_exec class,
  // streams in the Wasm module using fetch
  // and finally runs it. 🚀
  const go = new Go();
  WebAssembly.instantiateStreaming(fetch('app.wasm'), go.importObject).then((result) => {
    go.run(result.instance);
  });
</script>
Let's test this out and see it come together in action. You should now be able to serve your index.html file along with the wasm_exec.js and app.wasm files using any preferred method. I personally like using gommand for quick demos like this one.
go install github.com/sno6/gommand@latest
# Now serve assets in your current directory
gommand 'http.Handle("/", http.FileServer(http.Dir("."))); fmt.Println(http.ListenAndServe(":8080", nil))'
The snippet runs a simple Go HTTP File Server based on your current working directory. Once it's running navigate to your web page (if using gommand http://localhost:8080/) and check your console - you should see the following:

🚀 Great success! Our Wasm module has been successfully loaded, and the standard output from our Go program has landed in our browser console.
Adding the Form and some Spice 🌶️
Currently our web page is empty and our Wasm module doesn't really do much - nothing to write home about in any case. Let's fix that.
Here's the markup for our form:
<main>
  <form id="sqrt-form">
    <input type="text" name="sqrt-num" id="sqrt-num" placeholder="Enter some number" required />
    <button type="submit">Calculate Square Root</button>
  </form>
  <div id="sqrt-answer"></div>
</main>
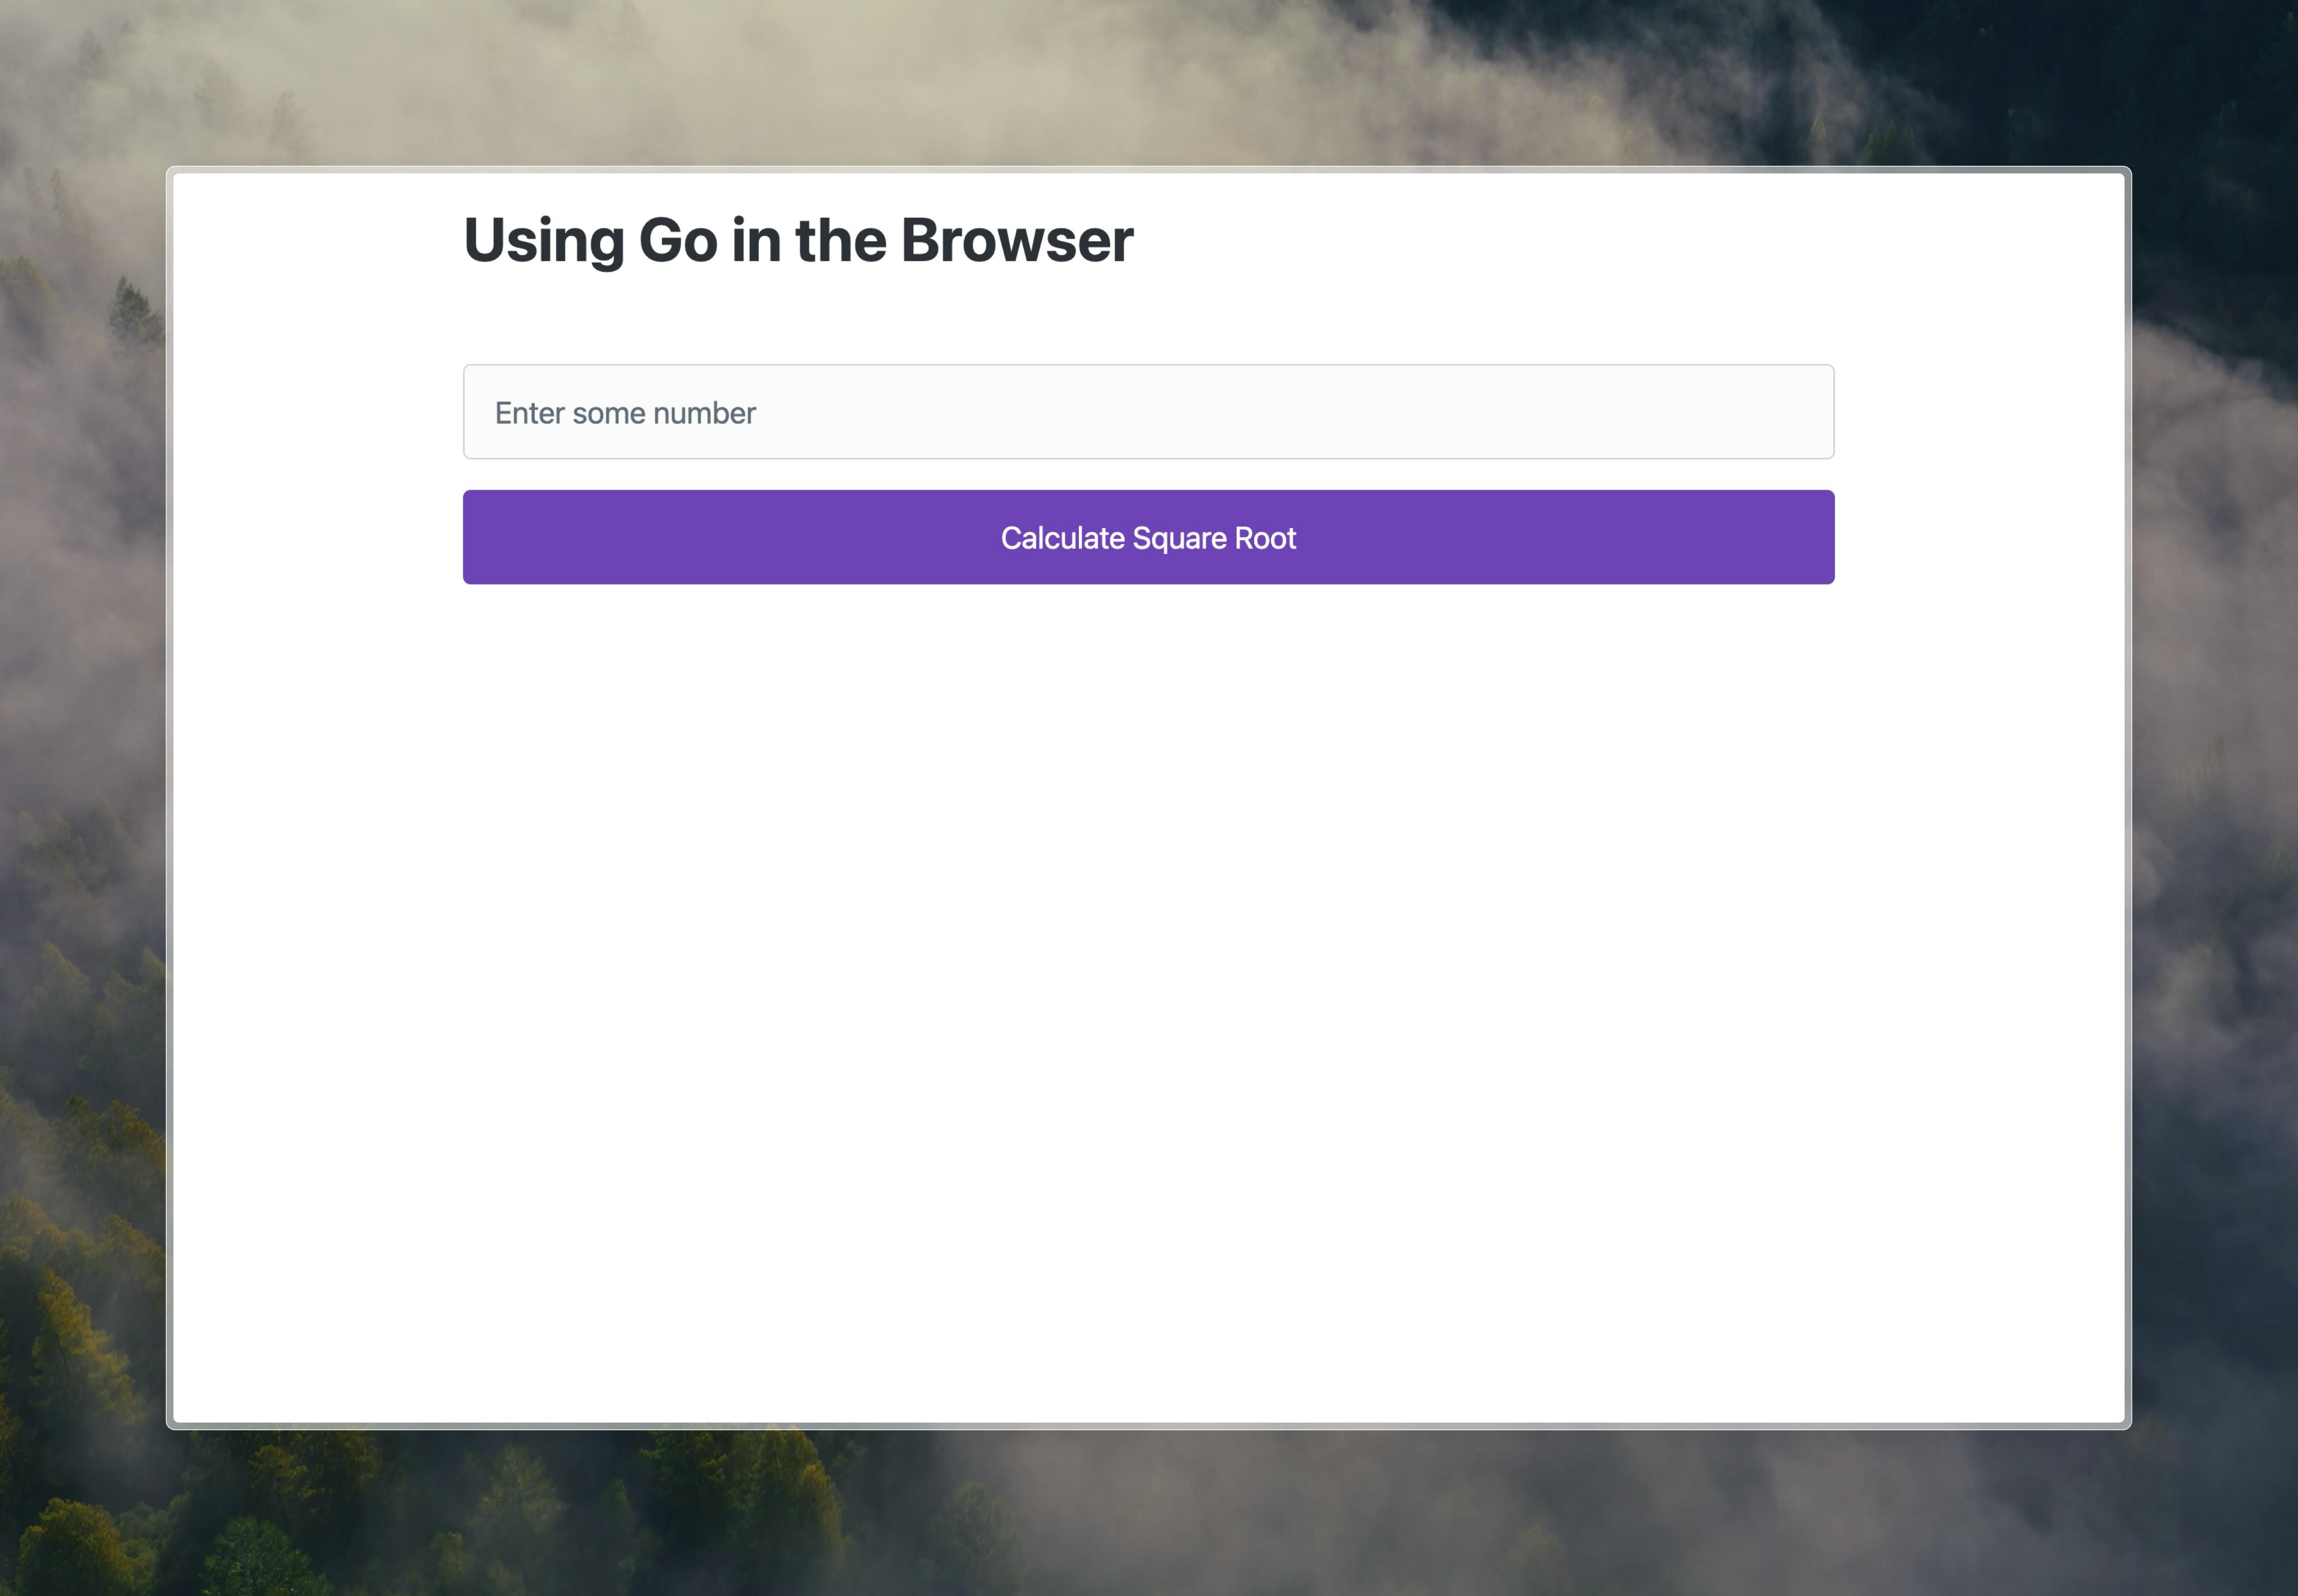
Save it and refresh the page to see... a bit more, but still not that much.

Let's quickly spice things up a notch by dropping in a little semantic CSS, courtesy of Pico ✨
<link rel="stylesheet" href="https://cdn.jsdelivr.net/npm/@picocss/pico@2/css/pico.classless.violet.min.css" />
... and adding a tiny bit of style to the body tag:
<body style="max-width: 900px; margin: 0 auto">
And - channeling my inner Emeril Lagasse - bam!

Nice - that's a little more presentable at least, and immediately matches our earlier mockup.
Extending the Wasm Module
Now that we have our form set up and markup thoroughly spiced, we can move on back to the actual Wasm code. So far, all it does is print a message to standard output and exits. In order to be able to have it calculate square roots for us, we'll need to do a few things:
Export a function for the JavaScript runtime to call
Keep the Go program running and waiting for calls to said function
We can achieve #2 fairly easily by adding a blocking channel receiver call on a perpetually empty channel.
func main() {
    fmt.Printf("Go Wasm module instantiated!\n")

    <-make(chan bool)
}
Cool. Now our program will actually wait around to receive calls. But what sort of calls is it listening for? Well at present: none. Let's change that.
func main() {
    fmt.Printf("Go Wasm module instantiated!\n")

    // 1
    js.Global().Set("GoSqrt", js.FuncOf(func(this js.Value, args []js.Value) any {
        if len(args) < 1 { // 2
            return math.NaN() // 3
        }

        return math.Sqrt(parseFloatJS(args[0])) // 4
    }))

    <-make(chan bool)
}
Now let's unpack a bit what exactly is happening here:
We call the
syscall/js.Globalfunc, which allows us to use the standard library to interact with JavaScript's Global namespace (ie: thewindowobject). In this particular case weSet(or declare) a new global function - namedGoSqrt- which receives a reference to JavaScript'sthisscope for the function and a slice ofjs.Valuearguments.We then do some initial argument validation, since our newly declared function requires one argument to be passed to it - the number for which we want to find a square root.
If the function was called without any arguments, we return a
NaN.If all is well, we call the standard library
math.Sqrtfunc with the argument received from the browser after having parsed it.
Ah, I mentioned parsing. Well since JavaScript is not strongly typed, we can't really enforce what type of data gets passed to our function from the browser. What we can do is handle the types passed in Go, and in our case we can handle either a JavaScript number or string type. The js.Value struct provides some nice helpers to make this easier.
Here's how we do that:
// parseFloatJS returns a float64 from a js.Value, based on either a `number` or `string` js type. NaN otherwise.
func parseFloatJS(v js.Value) float64 {
    switch v.Type() {
    case js.TypeNumber:
        return v.Float()
    case js.TypeString:
        if f, err := strconv.ParseFloat(v.String(), 64); err == nil {
            return f
        }
    }
    return math.NaN()
}
The logic is fairly basic. We essentially return a float64 when the argument is a JavaScript number type, and if it is a string we use Go's standard strconv package to parse a float64 out of it and return the result if all went well. In all other cases we return NaN.
Wiring everything together
Phew, almost there. The last step is to wire it all up, with some standard DOM JavaScript. What we want to do here is listen to the form submit event, read the current value from our number input and pass it to our global GoSqrt function exported by our Wasm module. Finally we display the returned result from said function below our form.
So let's wrap this up by updating our script tag with the following:
function wireItAllUp() {
  const sqrtNumInput = document.getElementById('sqrt-num');
  const sqrtForm = document.getElementById('sqrt-form');
  const sqrtAnswerDiv = document.getElementById('sqrt-answer');

  sqrtForm.addEventListener('submit', function (e) {
    e.preventDefault();
    const value = sqrtNumInput.value;
    // This is the 👇 part where we call out to Wasm.
    const result = GoSqrt(value);

    sqrtAnswerDiv.innerHTML = `🤓 The square root of ${value} is ${result}.<br>So sayeth the Gopher.`;
  });
}

// This statement is unchanged apart from the wireItAllUp call.
WebAssembly.instantiateStreaming(fetch('app.wasm'), go.importObject).then((result) => {
  go.run(result.instance);
  wireItAllUp(); // 👈 This line is new.
});
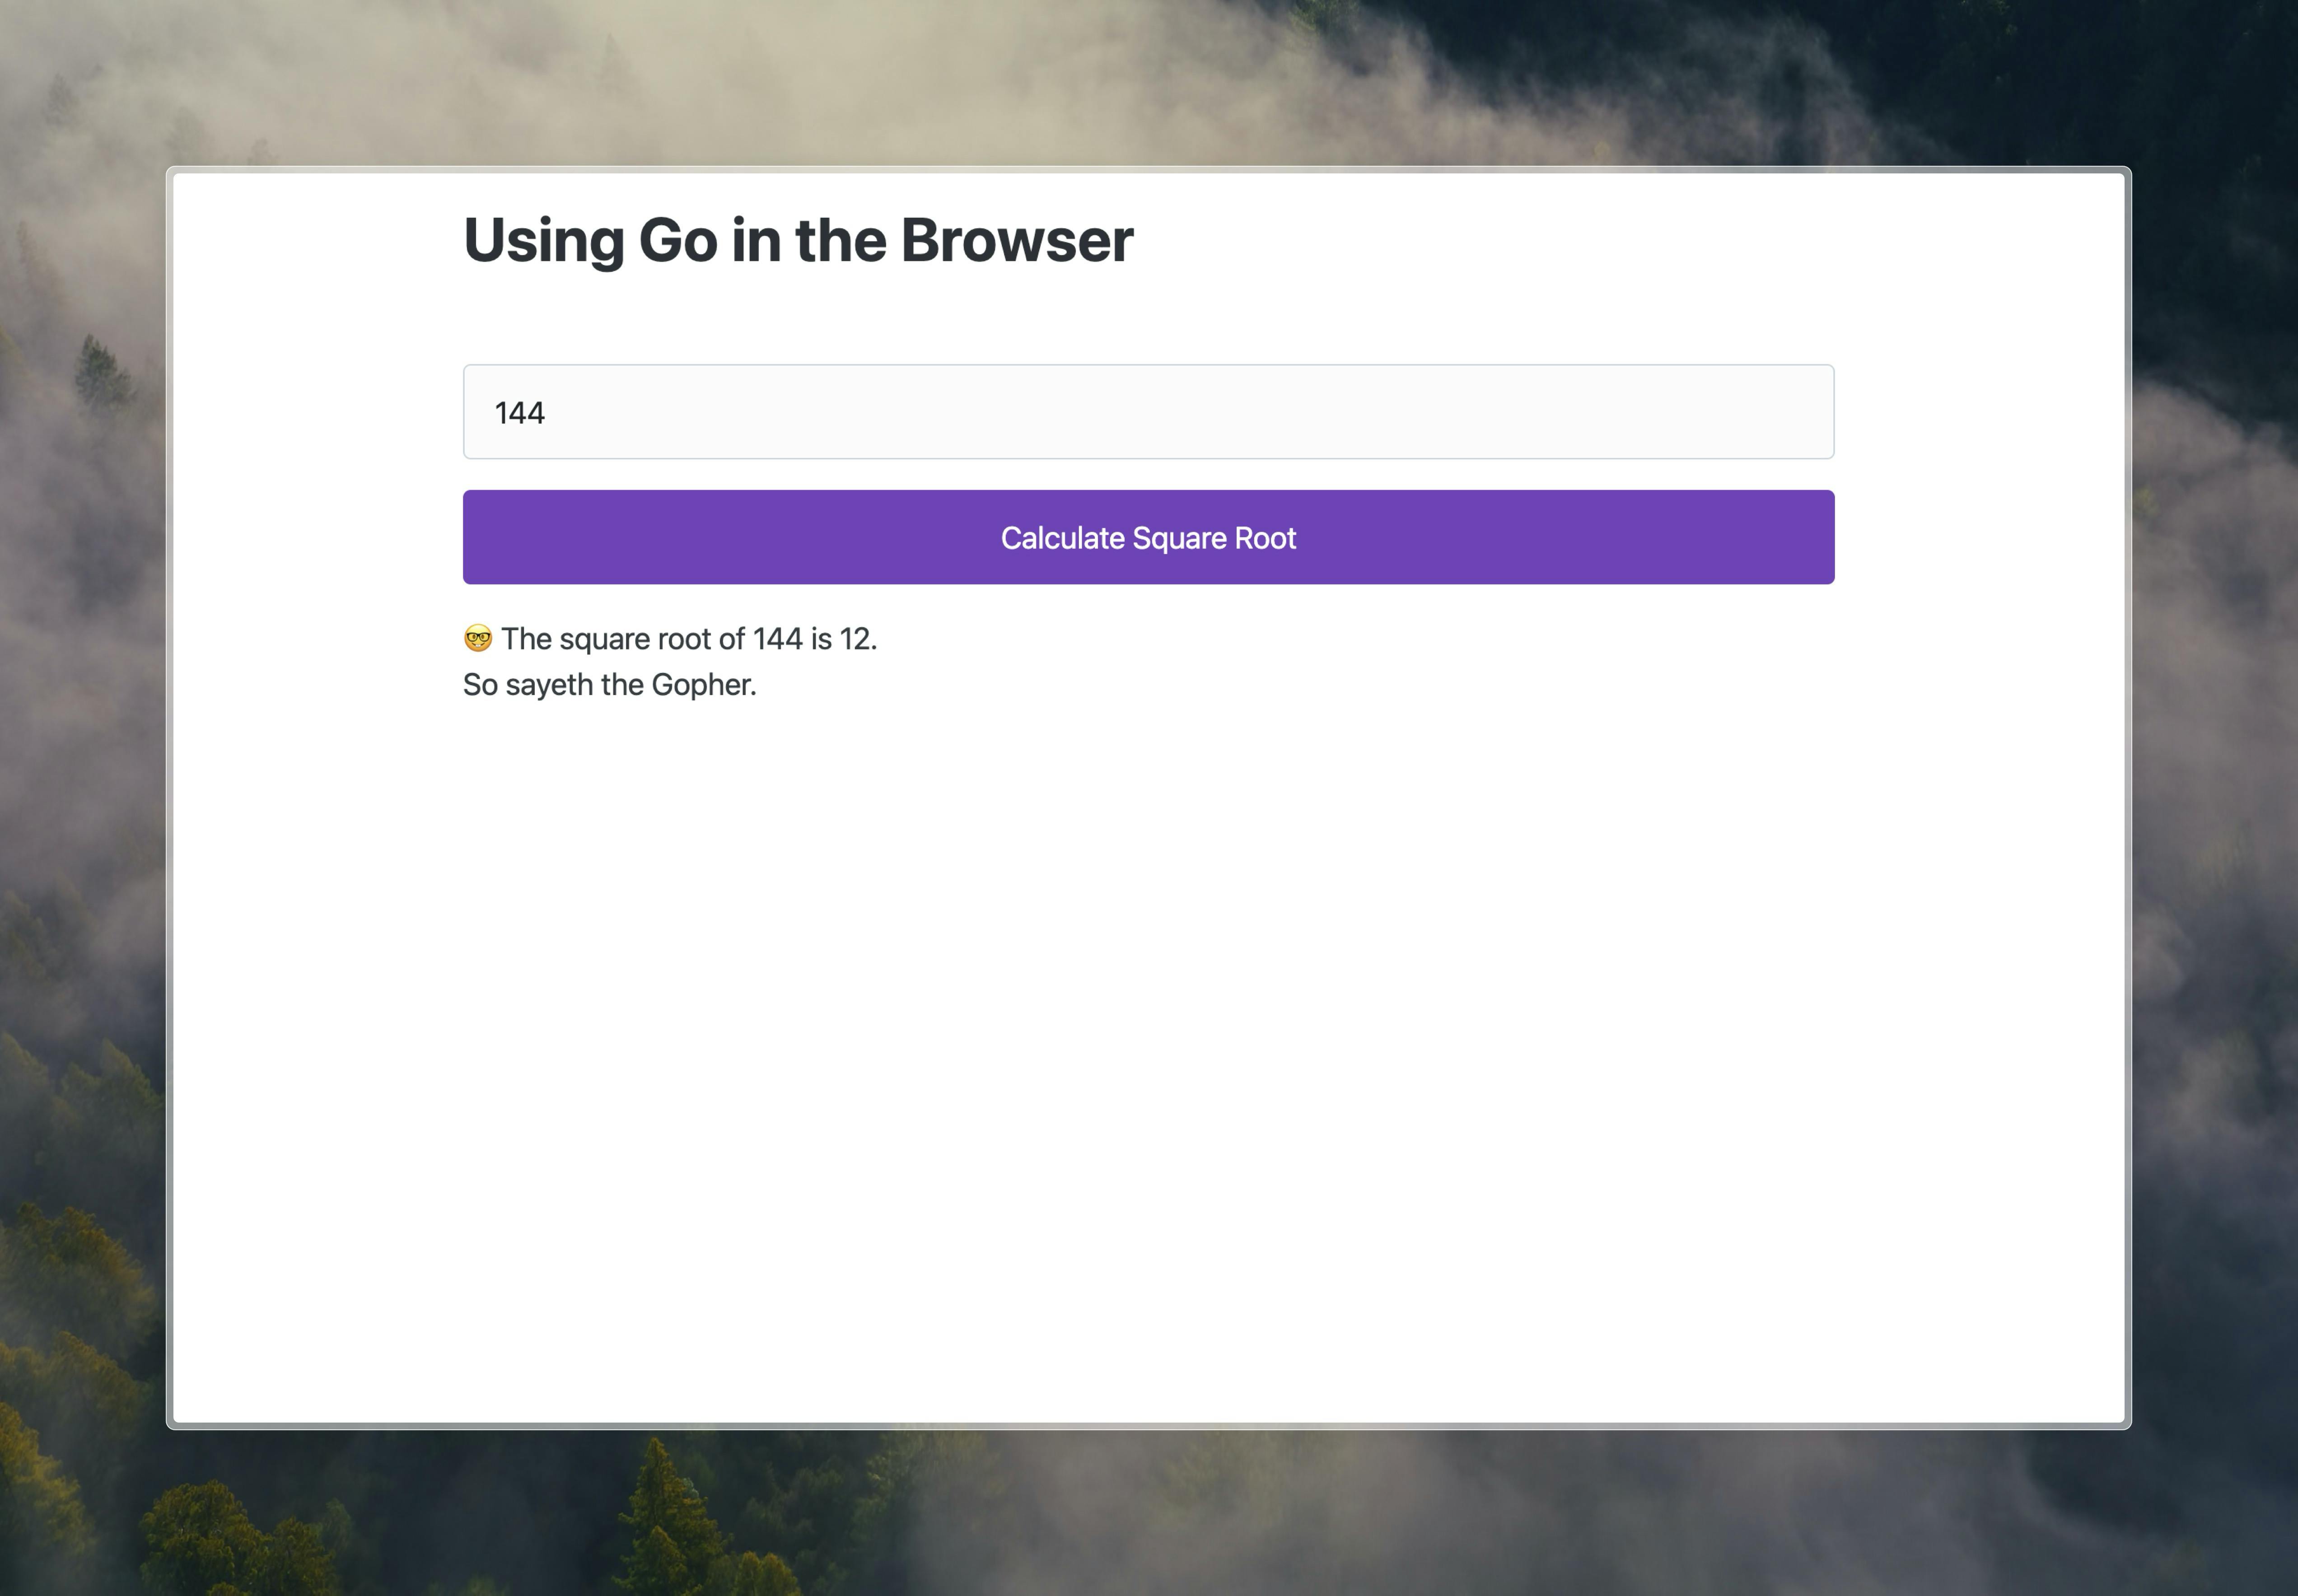
Now if we save our changes (make sure to rebuild your app.wasm file after making any changes to it) and refresh the page, we should be able to finally use the form and calculate any and all square roots we could possibly want.

And there you have it - Go running in the browser and doing math. The possibilities from here are essentially endless.
Here's a link to the complete project as well as a live version to play around with.
What's Next?
In the next post in this series on WebAssembly, we'll dive into using TinyGo as our compiler and reducing our binary file size significantly. Additionally we'll explore generating images and leveraging third-party packages as part of our Go Wasm module. Stay tuned and make sure to follow the blog to be notified when new posts are published in the future.
Further Reading
The official Go WebAssembly docs to start diving a little deeper on the topic.
The WebAssembly Docs themselves.
The growing WebAssembly section of awesome-go for neat libraries and tools in the ecosystem.
The list of awesome-wasm things in the community - not just using Go.
go-app.dev - the up and coming package for building PWA's (Progressive Web Apps) using Go and Wasm.

